
FLOAT ON WITH YOUR OWN DIY STOCK TANK POOL
This blog has been updated to reflect pricing and materials as of June 2021! Check out my latest blog on our stock tank pool, answering your top FAQs after one year with the pool.
DIY pandemic (stock tank) pool
I’m a girl who has long dreamed about pools. Definitely much bigger pools, potentially with a water feature. Maybe something like the one at Hearst Castle?

Hearst Castle
expectation

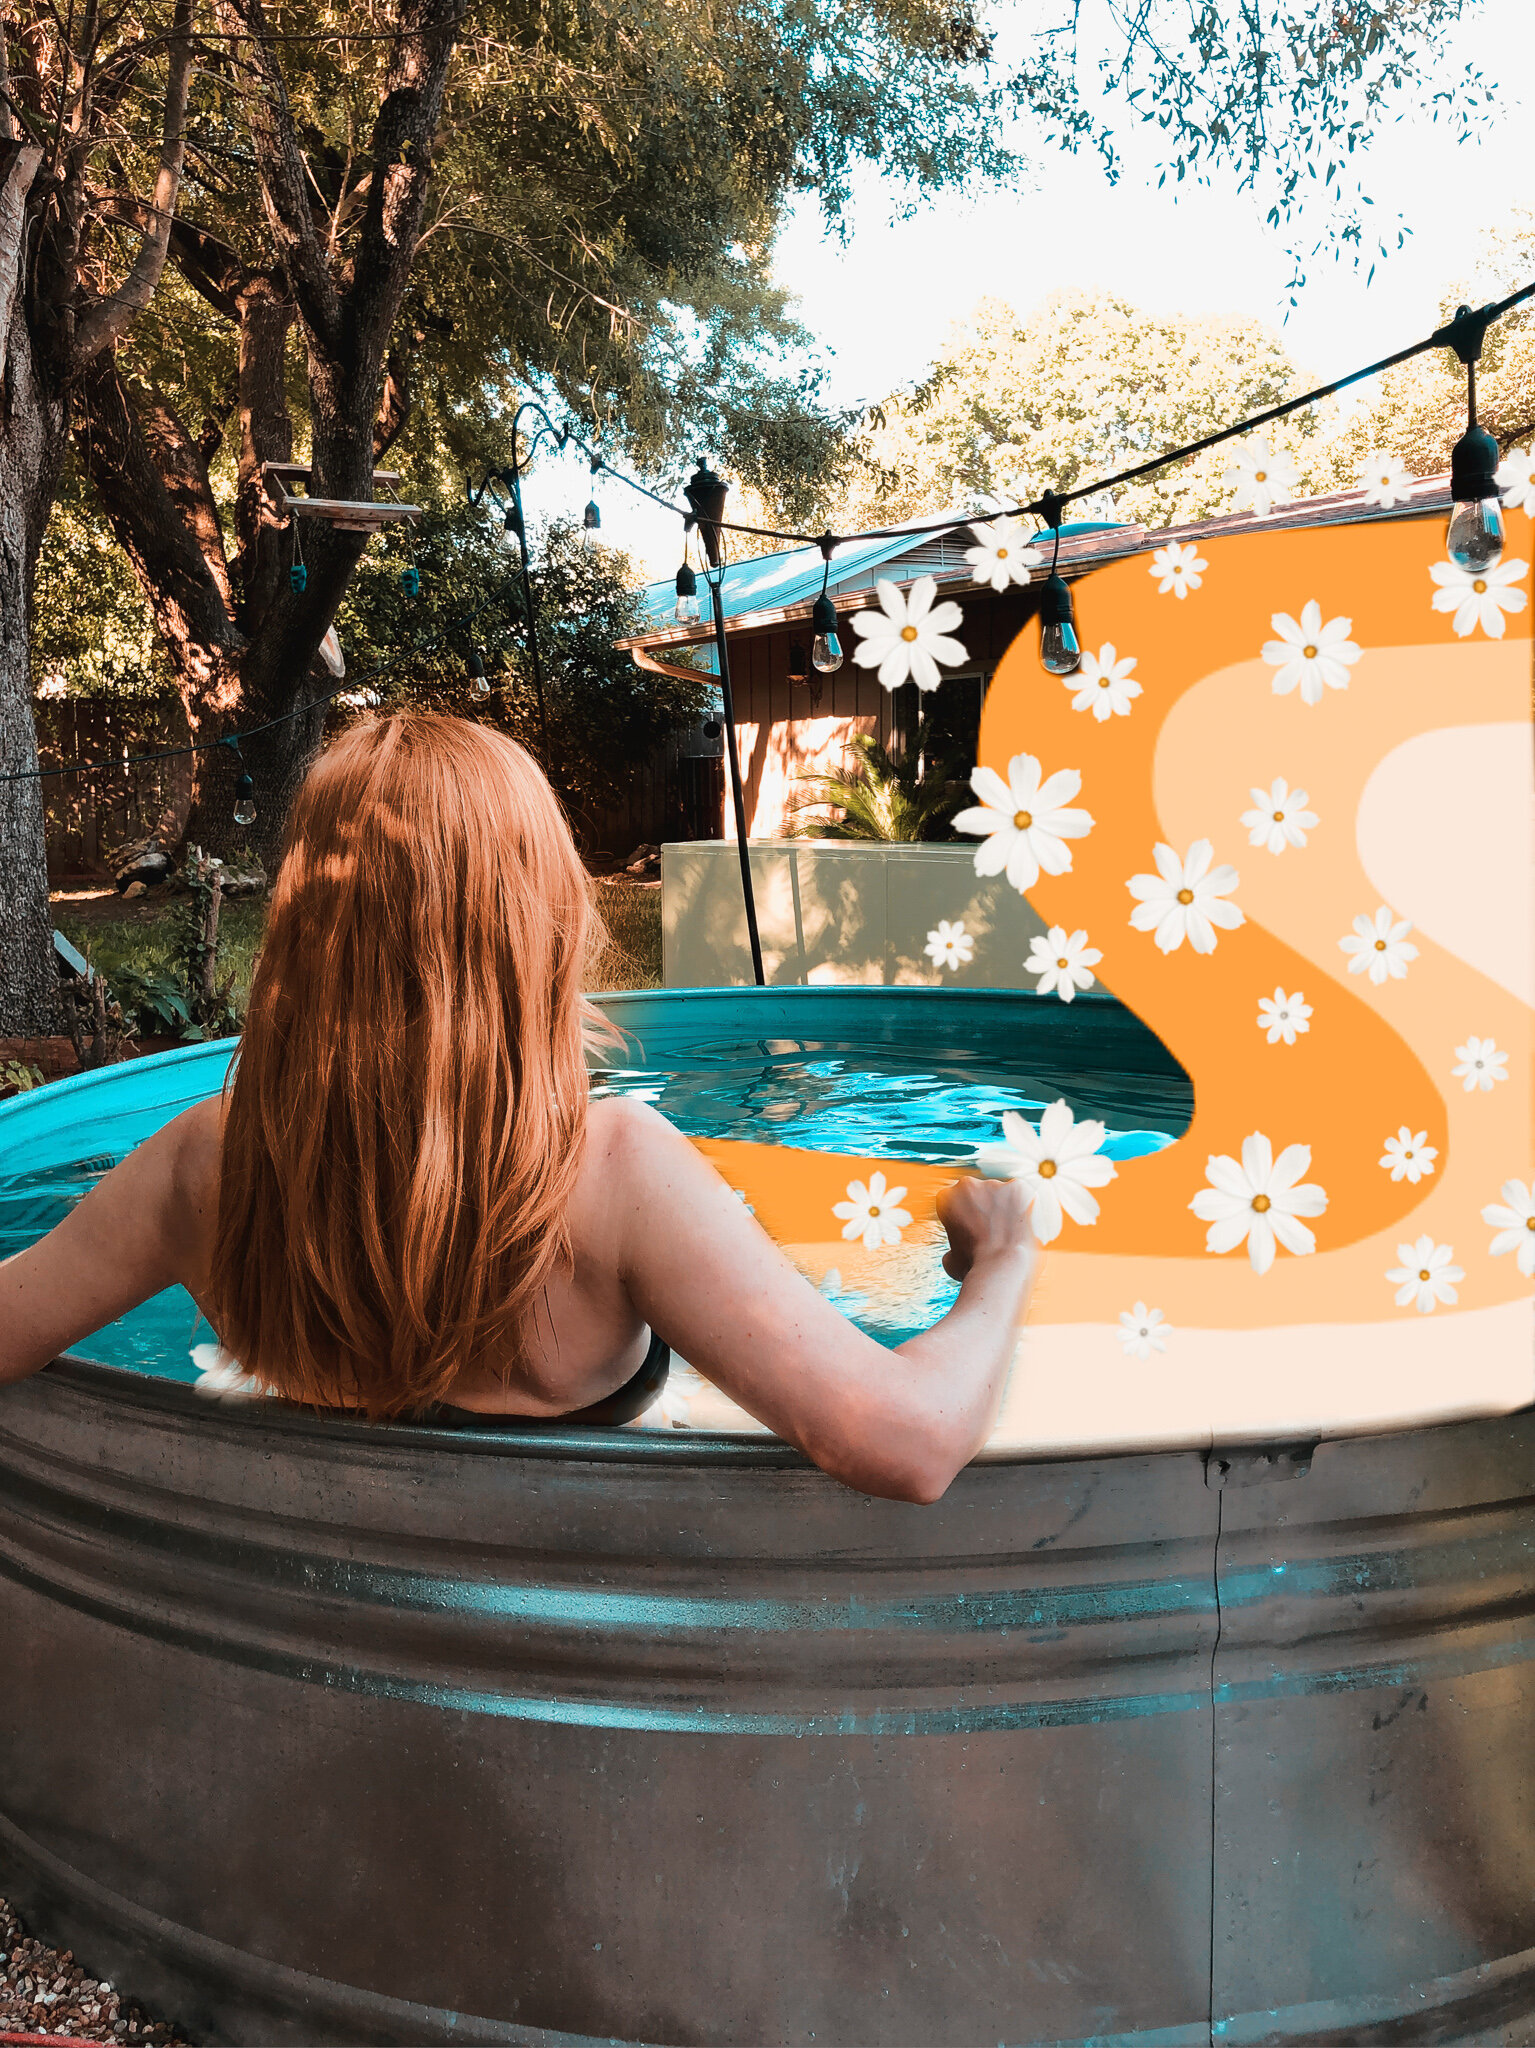
DIY Stock Tank Pool @ Home
Reality
Turns out, 8-feet is all I ever needed. I’m going to walk you through the basics of stock tank pools, your setup options, costs and our setup process. Full disclosure: i’ve included some Amazon affiliate links for several recommendations.


There are a lot of foundational blogs about DIY-ing your stock tank pool setup out there, so I’m going to say if you want to play the stock tank game definitely check out all the learnings from Hey Wanderer Blog and stocktankpool.net. I deferred to a lot of their expertise, but wanted to share my personal setup as well.
The biggest challenge about setting up a stock tank pool right now is sourcing the parts. Thanks to all the great DIY blogs and videos that exist, once we had the supplies setting it up was a breeze. I’ve included a couple of options for parts we had difficulty sourcing, but overall you may want to check your local shops and suppliers to be contacted when they come back in stock instead of paying a premium from secondary sellers. If you want one of these next summer, stock up early. See what I did there?
Stock Tanks 101

George Michael likes to be near the pool, but not in. Miley Cyrus is likely hunting frogs behind the avocado.
what is a stock tank?
Stock tanks are originally intended for watering cattle and can be purchased through farm supply companies. These are not truly swimming pools, but they have become a great hack for setting up a simple DIY pool that has more longevity than a plastic pool, while keeping costs lower than most backyard pool options.
With their increasing popularity, parts can be a bit hard to source especially in the summer months because most parts are retro-fit from standard above ground pools and not well stocked beyond their original purpose. There also seem to be a lot of companies popping up that will sell kits, help you with setup or charge a premium to pre-order a stock tank and deliver it. If you’re patient on sourcing the parts this is a relatively easy set-up to do yourself!

why stock tank?
The average in-ground pool runs you about $30-50k on average, above ground pools can run you $2-10k+ and our total cost of our stock tank pool setup landed us at $700 for a decent size, 8-foot round stock tank. It is hot in Texas. I like to float in a pool.
If we weren’t in the middle of a pandemic, in a string of seemingly endless 100+ degree days in Austin, the total cost might have given me more pause.
However, this is by far the best quarantine investment we could have made.
Pre-reqS
Prepare a level area in your yard or on a concrete slab, remove rocks. The weight is not advised on a deck, however a lot of people have built decks around their stock tanks for a much more polished look. We chose a dirt base and surrounded with pea gravel which worked well for leveling.
You will also need an outlet for the pump, all the safety requirements state very clearly to plug into an outlet and not an extension cord. I will not advise you to follow my advice, however ours is plugged into an extension cord and i’m one of those people who doesn’t like to follow every rule until I am proven otherwise.
We put our stock tank in a spot that gets full sun for the main part of the day, until about 4PM CST. Best of both worlds, if it’s hot as hell I will sometimes wait to float until it’s shaded but the pool stays cool. The only time that the temperature of the water has gotten too warm for my taste was when I left the cover on for a few hot days baking in the sun and it trapped in heat. Stock tanks are designed to keep water cool in hot conditions, they do just that.
We get some debris from tree overhang, but not enough to mitigate proactively. I’ve seen people get really creative with netting or an umbrella above their pool for this purpose, but so far with a little skimming and covering it’s not a problem for us.
Pool styles

We have: Hastings 8-foot, Round, metal!
Round (4, 5, 6, 8, 10, 12+ by 2 feet - I see most home installations in the 6/8/10/12 range but i’ve seen some huge stock tanks with a little more depth) or oval (the minimum you’d likely go on this would be 4x2x2, but most folks go 6x2x2 - or there’s a 2.5ft depth option) which is more like a tub shape and you can buy most shapes and sizes in plastic/poly or galvanized steel.
I would say ours can comfortably fit 4 adults sitting in the pool or two floats side by side at 8 feet. I am loving the smaller tub size that a lot of folks are outfitting like this Austin local.
Pump styles
The most popular option is an above ground pool pump that is meant for use with chlorine by Intex, this is the route we went and you’ll see the parts linked in the supply list. You can also use a sand filter pump and filter sand.
Cost
The smallest option would cost you around $200 to outfit, our option (8-foot outfitted) cost $700 and i’m sure the largest option would run you north of $1K.
Keeping it clean
The pump is critical to keep the water moving and clean, the pump we purchased and most others I have seen have automatic timers that you can set with 2 to 12 hour cycles. We run ours at least on the once every 12 hour cycle to keep the water moving. Mosquito struggle is real in Austin for most of the warm (forever warm) seasons, so the key to not attracting bugs is not letting your stock tank turn into standing water.
In addition, we keep 2 chlorine tablets in a chlorine dispenser, skim the pool every couple of days, cover it at night or during periods not using (but sometimes forget and no one dies), and occasionally shock the pool to adjust levels as needed. It took a little trial and error at first to get the balance right using chlorine test strips. Also, I think it’s important to note that I try to get as close to the right levels as possible, but it’s not always perfect. You may have to adjust a bit after a big rain as well.
If you have algae (greenish water, green or black spots on the interior, bottom is slippery): adjust the chlorine and pH levels by shocking your pool and vacuum the pool bottom. If your water is cloudy, you likely have “hard water” with high pH and/or the chlorine content is too low. Same thing, correct your pH level. We really only dealt with a tiny bit of algae at first until we shocked it and were consistent with chlorine and running the pump.
Long term, I would love to build a nice adjustable cover like you would find on a hot tub.
maintenance
This is an area we’re still learning about. We took the advice of many blogs to not coat the pool in anything, these are designed to withstand a lot of wear and tear and are coated in galvanized zinc coating to not rust and sometimes live on a farm for 20+ years. However, chlorine can start the erosion/rust process faster so it’s imperative you use the chlorine dispenser and not just put your tabs straight into the pool. For the total investment, I am not overly concerned about making sure this pool outlives my desire for a real pool one day. Some folks note a little rusting after a few years.
We also plan to build or find a good smaller outdoor box to house the pump out of the rain long-term.
Off-season draining & storage
We haven’t decided what to do in the winter, which is a relatively short season here. I am thinking of draining it, giving it a good scrub down and covering it or flipping it over for the first season. The farm supply did tell us we could leave it filled through winter to combat rust, but still running your pump regularly to maintain it like you do in the summer months.
Styling your stock tank pool
We decided to keep it simple and not paint or build around our stock tank pool, especially for this first season as we learn how everything works.
Stock tank pools have a galvanized zinc coating, which makes them very resistant to new materials. I actually really love the look of a natural silver stock tank especially in a more rustic environment. Oh, and we bought a 12-foot avocado pool bar but that’s another story. But I understand that vibe isn’t for everyone.
Painting the interior of the pool is ill-advised, however painting the outside seems to be successful when done right, if you’re going to paint - consider following these steps. Everyone on the internet gets real up in arms when they see people painting their stock tanks because it’s not a perfect process but honestly you do you, do your research and worst case scenario you fix it.
If we were to go to town on styling next season, i’d likely opt for a vintage approach:

Via the The Giki Tiki
Must-have pool toys
Go buy a pool noodle, cut a slit in it and put it around the edge of your stock tank. You can sit on it as a surface to put your feet in or lean back while floating. It’s a cheap must-have. I also am a big fan of pool floats, but who isn’t? I bought my orange on sale, but I do really love it despite it’s higher price point ($60) - it will live well beyond one season. And yes, I probably do need to invest in a hot dog or avocado floatie at my earliest convenience.
Workarounds?
Okay, so you can’t source all the materials. What now? You can always get a stock tank, wait for the other “ideal” supplies like the pump to become available and do some non-ideal soaking/dumping in the meantime. I believe the OG stock tank pool was exactly this.
Our Supplies

8-foot Hastings stock tank purchased from Callahan’s in Austin, TX ($400 as of June 2021) check your local tractor/farm supply:
Intex Krystal Clear 1500-gallon filter pump for above ground pools 28635EG ($225 as of June 2021)
UPDATE: Availability and price of these pumps ebbs and flows based on demand, when I first purchased it, I bought it from Home Depot for $70 - current going rate is $225. Looks like Stock Tank Pools may have something to do with it.This comes with: pump and outlet, (2) 1.5 inch hoses, (1) replaceable filter, (1) plunger valve, (1) inlet strainer with fittings.
We had first assumed this pool pump would come with everything we needed for setting up the pump, but it’s very important that to install an inlet and an outlet in your stock tank pool you need a couple extra parts, in addition to what comes with this pump:
(1) Plunger Valves - 2-pack ($28 as of June 2021)
(1) threaded strainer - this was the hardest combination to figure out/source, depending on availability pick ONE of these options:
11235, Threaded Strainer Connector ($3) + Strainer Nut ($2) + Rubber Gasket ($2) - obviously the cheapest option, but these have been sold out since we started looking.
Threaded Inlet Strainer Kit ($50 as of June 2021) - specifically made for this purpose due to low volume of parts
WE DID THIS: Inlet Jet Replacement Kit ($20-80) prices fluctuate based on availability for this, it has what you need and some extra parts that you will not need.
2-3/4 hole saw attachment ($30 as of June 2021)
Play sand for leveling ($15)
Chlorine tablets ($30) - you will use 1-3 per week depending on your water, usage, etc.
Chlorine test strips ($13)
Pool cover ($30)
Pool skimmer ($10)
Replacement filters - 6-pack (Type A/C) ($60) About one a month depending on your usage/how consistently you cover, you can also remove these and hose them off regularly to keep them working longer.
Total cost: approx. $650-800+ outfitted and set-up for use.
Want to skip all the hard stuff? Since we got ours up and running last summer there are more and more stock tank pool services popping up - I chatted with the folks at Stock Tank Love, a local Texas family who started their company supplying and installing stock tanks (even adding hot tub elements if you’re into that!) which is a great option if you want the vibe without the DIY.
Step by step setup


Step 1: Prep & level
You’ll want a flat surface for your pool. Alex leveled the spot for the 8-foot pool (using the old board and level trick), if you have a lot of leveling to do renting a tiller from Home Depot was a great way to go. We leveled a larger section of the yard, filled with 2-inches of sand and another 2-inches of pea gravel except for the pool area. We got a few extra bags of sand to manually level the pool while filling it.
Step 2: procure & Clean the pool
We purchased our pool from a local tractor supply company and paid an extra $70 for local delivery. If you have a large pick-up truck you could get creative with some straps. The pool is light enough to roll to it’s spot and easy to get into the backyard with just two people.
When it arrived it was nested in several other stock tank pools and had some weird bugs and mysterious sticky substance inside. These were likely some of the last stock tanks for a while, so I did not complain and scrubbed the whole thing with a scrub brush, dish soap and rinsed the pool out.
Step 3: Install the pump
After attaching the hole saw with arbor attachment to a power drill, Alex punched two holes for the pump fittings, you can either place these side by side (ours pictured below) or you can position these spaced out one on top of the other depending on where the ridges of your pool hit. Be sure to wear safety goggles when drilling and clean up any sharp metal scraps from the drilling.

2. Next, we assemble the inlet (sucks water in) and outlet (pushes water out) fittings. Your pump instructions are very simple and clear on this assembly.
Because we used the precise sized hole saw we did not need any sealant, our fittings are well sealed. We did fill up the pool to the height of the fittings and did not note any leaks on the outside before we filled the rest.
3. On the outside of the pool you attach your plunger valves to your inlet/outlet threading outside the nut, this will enable you to turn off the water flow when you need to change filters.
4. Then you add your hoses to the plunger valves, connecting them back to the pump.
Step 4: Fill the pool
We filled gradually, using our play sand to level as we went. Because we had already leveled as much as possible before the pool, this was relatively easy but did require some shifting and testing before filling all the way. It has stayed shockingly level.
Step 5: Add chlorine, test & adjust
Put 1-2 chlorine tablets into the dispenser and drop it in the pool, you will refill these when they run out about once a week. Your water is going to depend on your local water, so additional chemicals or shocking your pool may be necessary. You can use chlorine test strips to manage this. This hasn’t been too difficult to maintain and our water stays clear and clean as long as we skim regularly and run the pump.
step 6: float
I even made you a few playlists for floating.


How will you stay cool this summer?